Where, how and for which plants is the FYTA Terra suitable?
The FYTA Terra provides accurate soil data on moisture, temperature, nutrients and light in outdoor areas. To ensure that this data is truly meaningful, correct placement is crucial. In this article, you will learn step by step how to use Terra optimally in your garden – in flower beds, hedges, trees or on the lawn.
1. Preparation: Insert Terra correctly
Before inserting the sensor into the ground, the soil at the desired location should be well loosened. This prevents damage to the ground rods and ensures clean contact between the sensor and the soil. A clean installation is the basis for reliable measurements and a long-lasting sensor.
How to insert FYTA Terra correctly:
Dig out an area of soil next to the plant you want to monitor with Terra. You should dig out at least the length of your sensor with soil rods. Loosen the dug-up soil and remove stones and thick roots.
Then insert the FYTA Terra into the soil so that the sensor probes are no longer visible.
For lawn: Bury the Terra deep enough in the ground so that only the solar panel is visible. This allows you to mow over the sensor without damaging it or your lawnmower.
Then press down on the soil around the sensor again to compact it and ensure good contact between the soil and the sensor.
Then water the Terra with 5 litres of water. This settles the soil around the sensor, closes any cavities and optimises soil contact for precise measurement.
2. Placement according to usage context
The optimal position of the sensor varies depending on the garden area. The FYTA Terra always measures locally – not across the entire area. This means it can be used either for a single plant or for several plants with the same requirements and similar environments.
Raised beds and garden beds
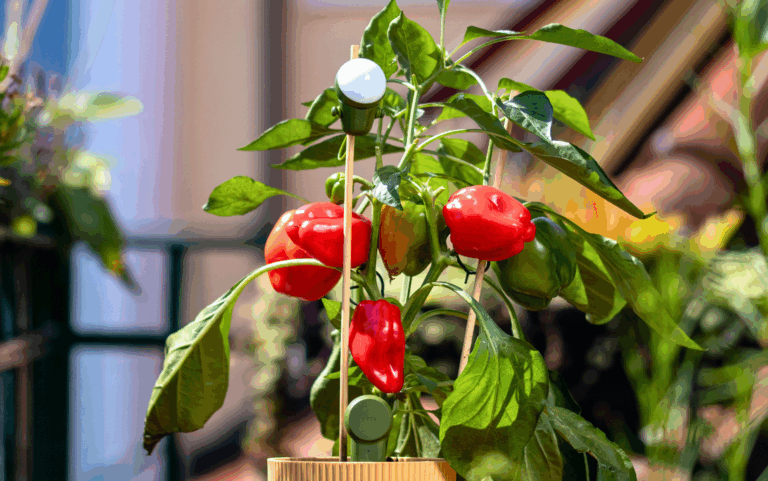
In beds, Terra should be placed in the root area of the main plants.
Do not position the Terra at the edge of the bed, but slightly offset towards the centre of the bed. Choose a location where the Terra will receive as little shade as possible, but at the same time ensure that it is close enough to the plants you want to monitor.
In beds with very different plants, you should position the Terra where the water and nutrient requirements are highest.
Plant groups in the garden
Terra always measures the conditions directly around its location.
For plant groups with similar water requirements, one sensor is often sufficient.
For plants or microclimates that vary greatly, additional sensors are useful.
Example: Hydrangeas next to lavender require completely different conditions – separate measurements are worthwhile here, as otherwise the individual needs of the plants cannot be addressed.
Light and Overshadowing
If Terra is permanently overshadowed, the light measurement may be inaccurate. Please ensure that overshadowing is kept to a minimum.
Alternatively, the FYTA Sphere can be combined with the Terra to measure light, temperature and air humidity directly in the leaf area.
3. Special applications in the garden
Hedges
In hedges, soil moisture is often not evenly distributed.
Place the FYTA Terra in the middle of the hedge in the root area. Remember to loosen the soil first (as described above).
For long hedges, several sensors should be used at regular intervals, as ground conditions can vary along the length of the hedge. (Recommendation: one Terra every 3 metres)
Important: If you are using several Terras for your hedge, divide them mentally into 3-metre zones. Create a separate plant profile for each zone in the FYTA app. Name the plant profiles so that you can easily tell them apart and link each Terra to a plant profile.
Trees
Terra should not be applied directly to the trunk of trees.
Position the sensor within the radius of the eaves, i.e. in the area under the canopy where water is actively absorbed. Here, too, it is very important to loosen the soil.
Lawn areas
The Terra measures locally, but can monitor a larger homogeneous lawn area.
However, additional sensors are useful in the following situations:
Areas with varying levels of sunlight
Variable watering (multiple sprinklers)
Slopes
Very large areas where uniformity cannot be assumed
Areas with different types of grass that require different care.
By using several sensors on a lawn, you can identify exactly where the lawn needs your attention.
5. Conclusion: Better decision-making with real ground data
FYTA Terra shows you what is happening directly in the soil. The FYTA app converts the precise data into recommendations for action that you can implement immediately.
The correct placement and installation determine whether your data is accurate and useful for you and your care.
When multiple Terra sensors are useful
A single sensor is often not enough if:
Light conditions vary greatly
There are different watering zones
Large areas are being measured
Different types of plants with different requirements are growing side by side
Multiple sensors provide you with real comparative data and individual care instructions for your plants.