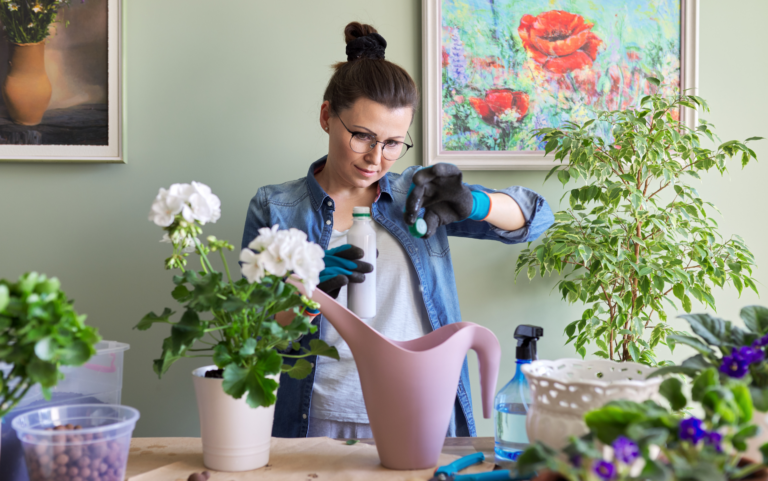
There are many reasons for repotting your plant: the roots are already growing out of the pot or rotting, your plant has too many offshoots, and not to forget: it comes straight from the store and is still sitting in growing soil. A good base is important for the growth and health of your plant. We show you in eight short steps how to repot correctly.
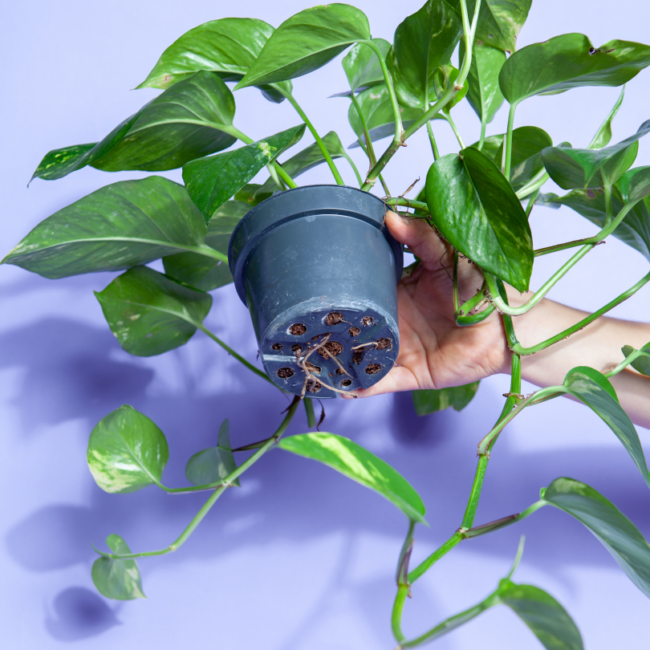
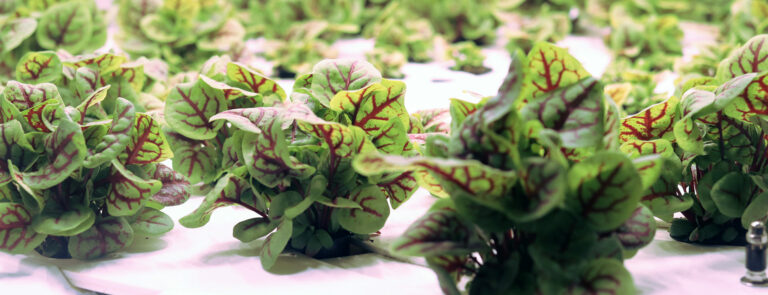
SIGNS IT'S TIME TO REPOT
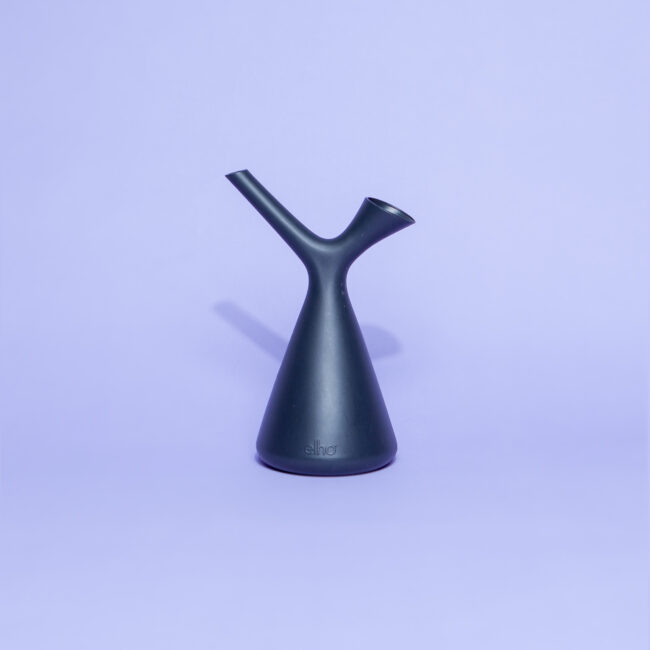
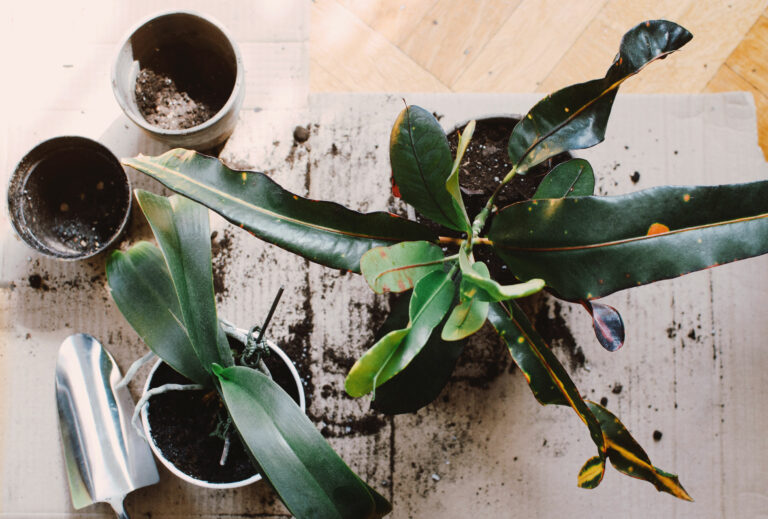
What You Need
START
START
.
START
START
.
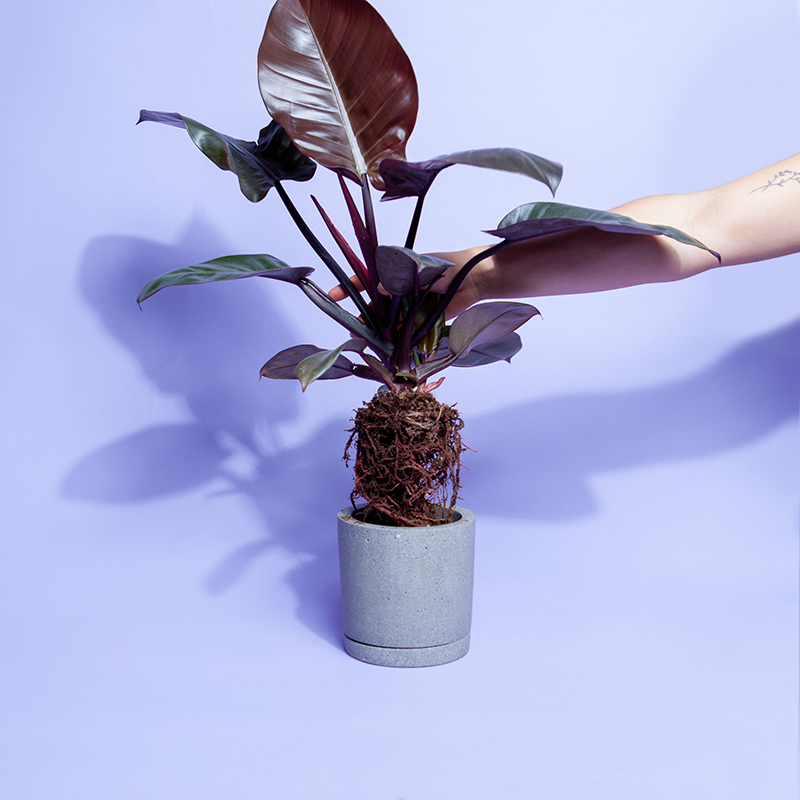
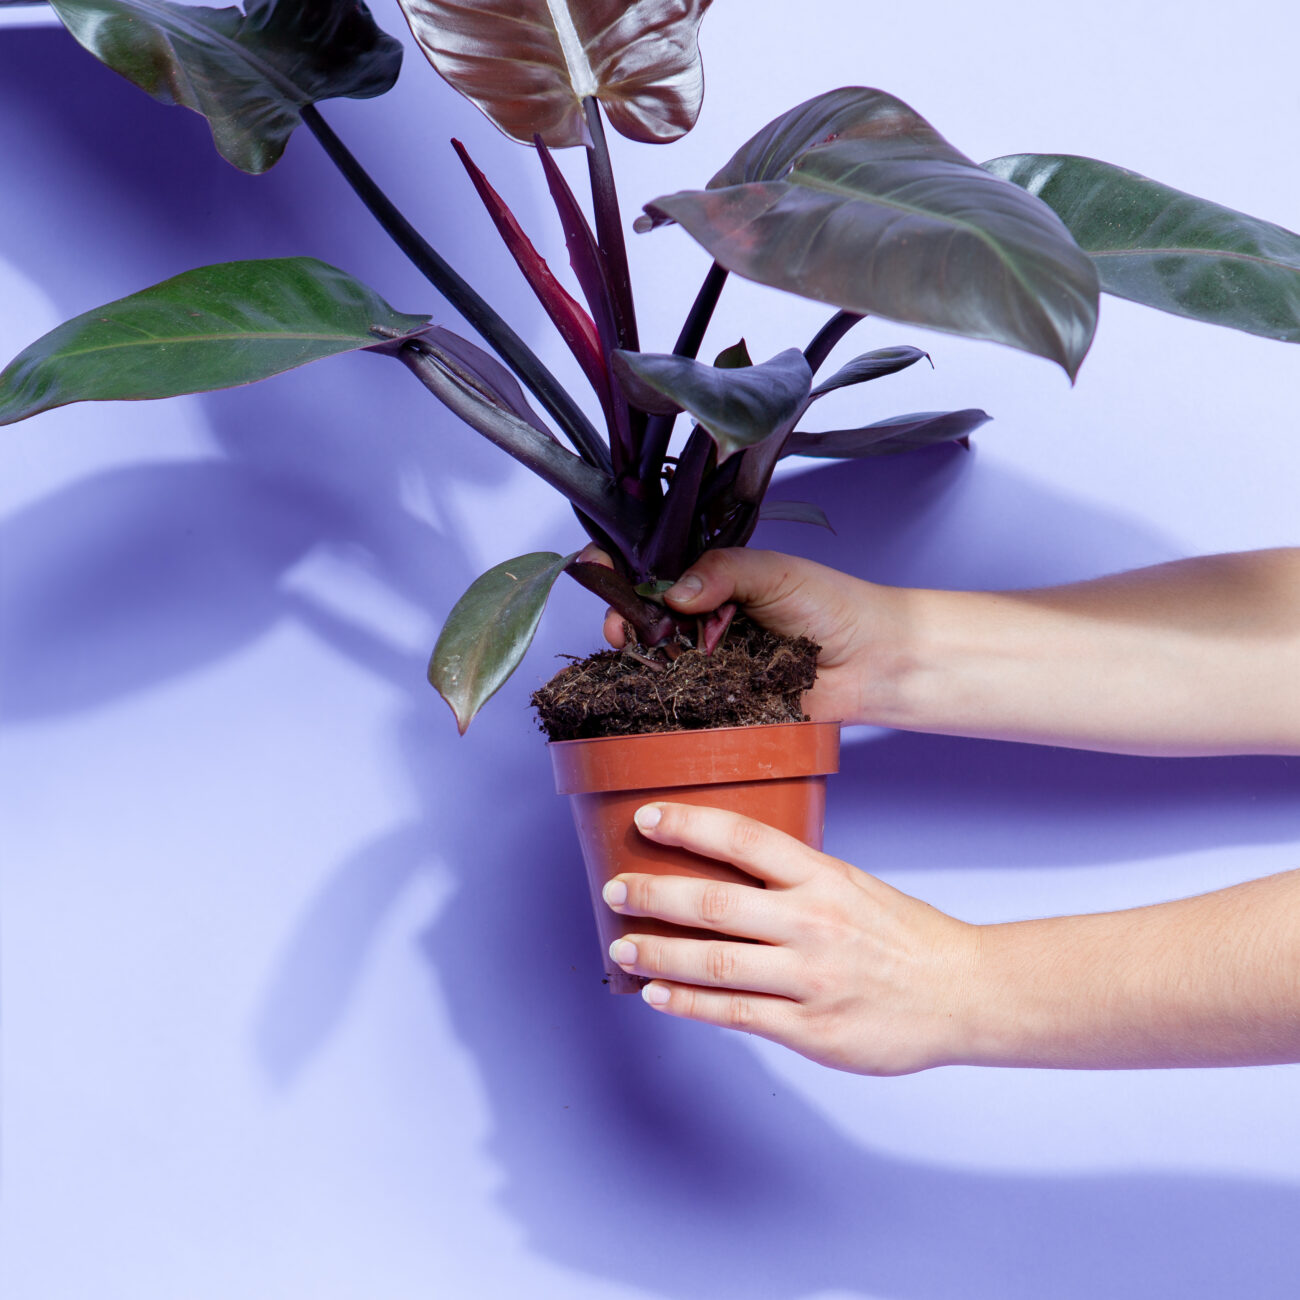
Step 1/8
Carefully release the plant from the pot. Slightly pressing in the edges of the pot will help.
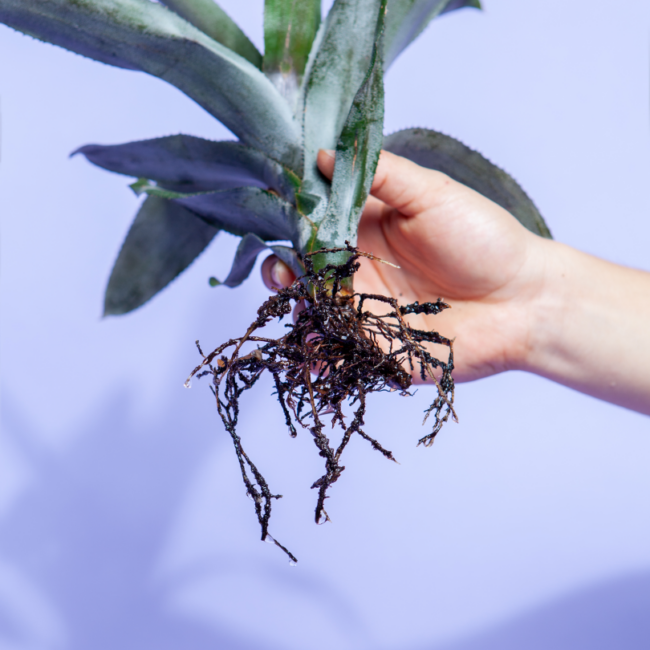
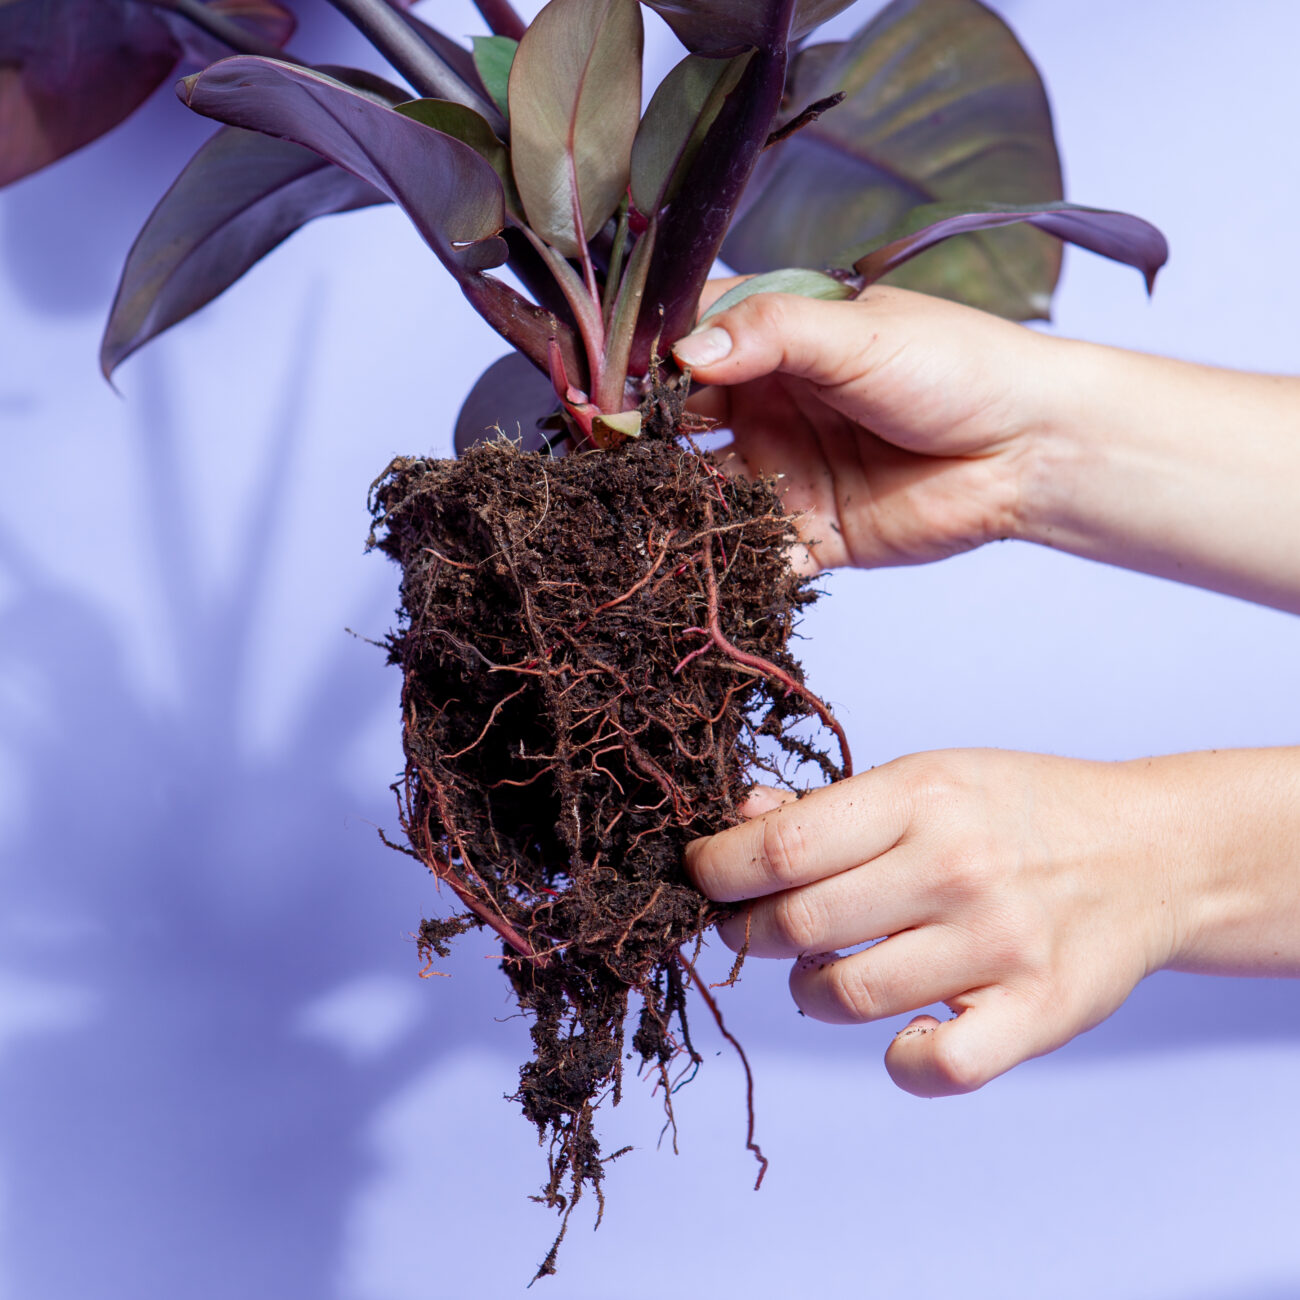
Step 2/8
Remove most of the substrate from the roots and check them for root rot: brown, rotting ends? If so, wash the roots by dipping them in a bowl of water and remove the affected root shoots.
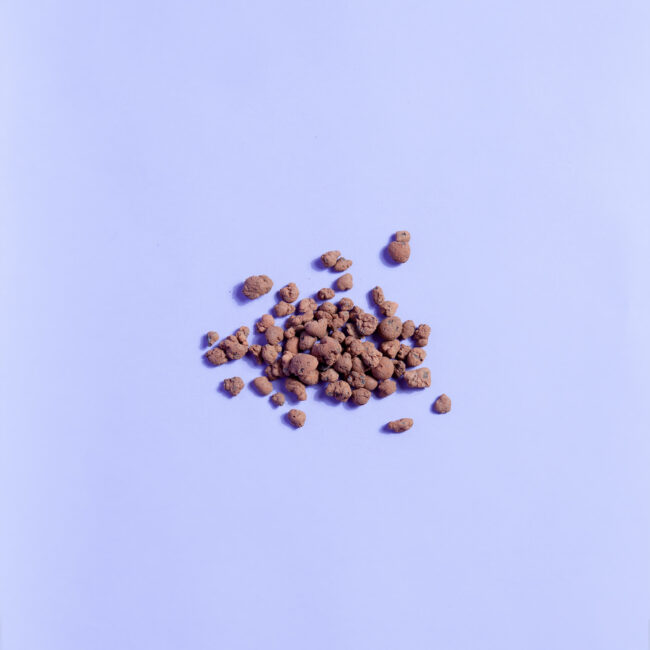
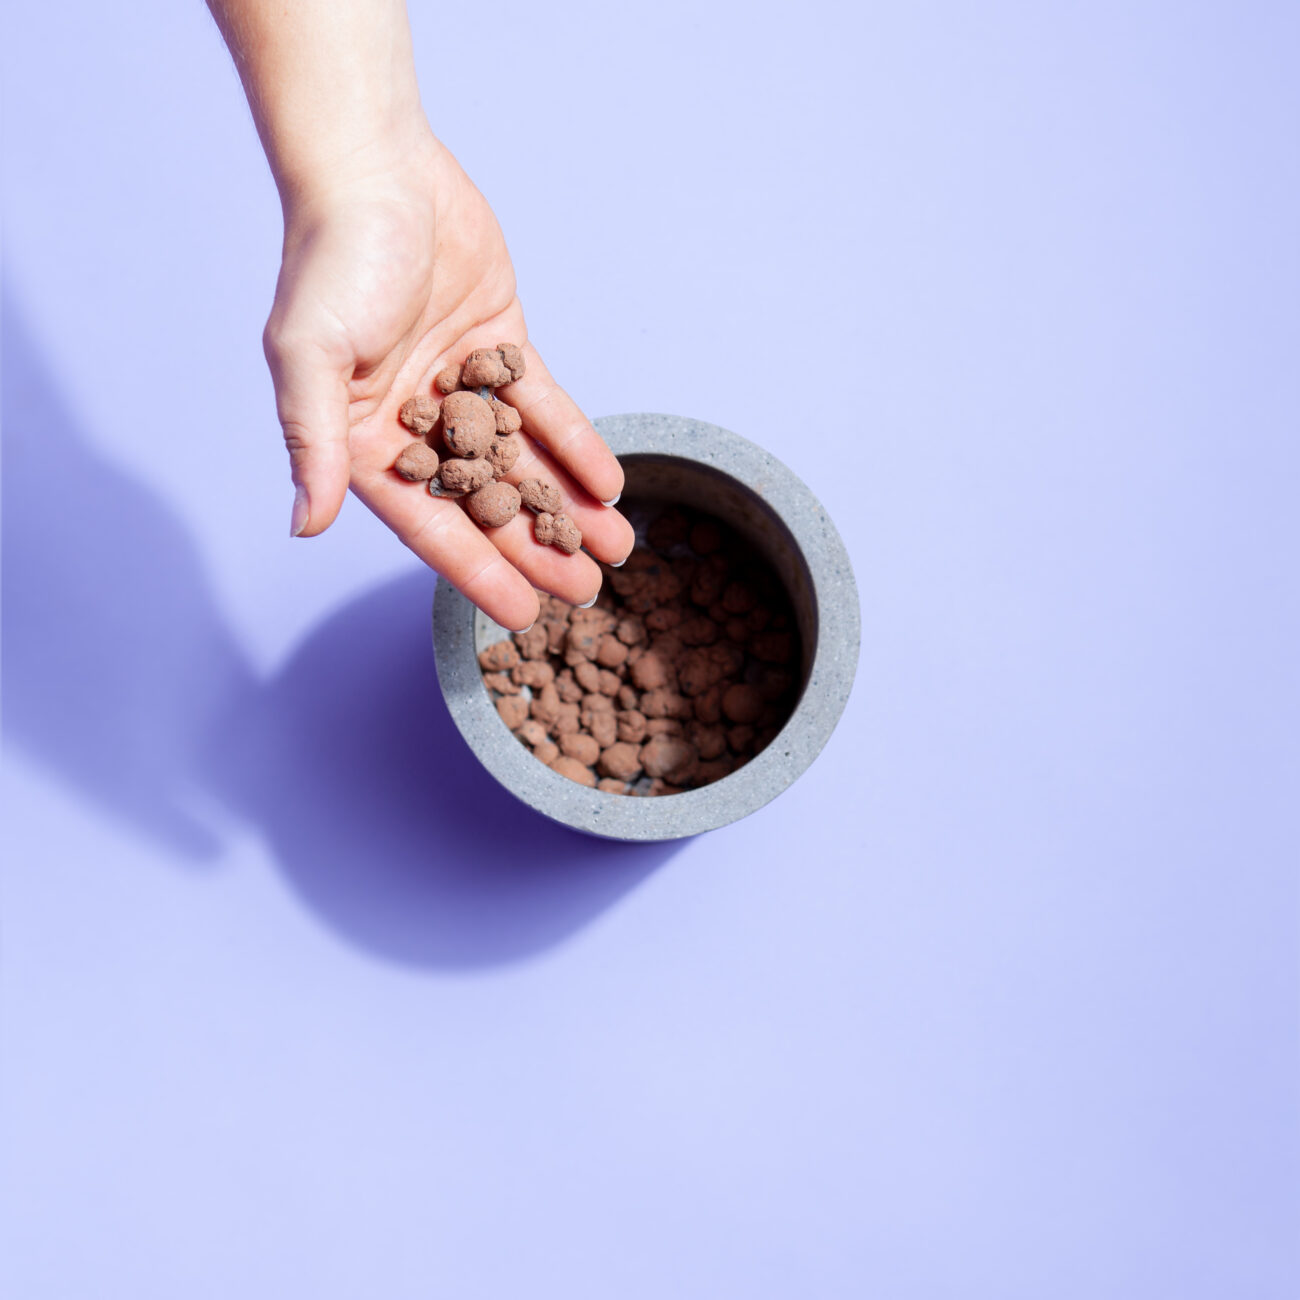
Step 3/8
Grab a pot with a hole and a saucer and create a drainage layer of coarse-grained material like expanded clay.
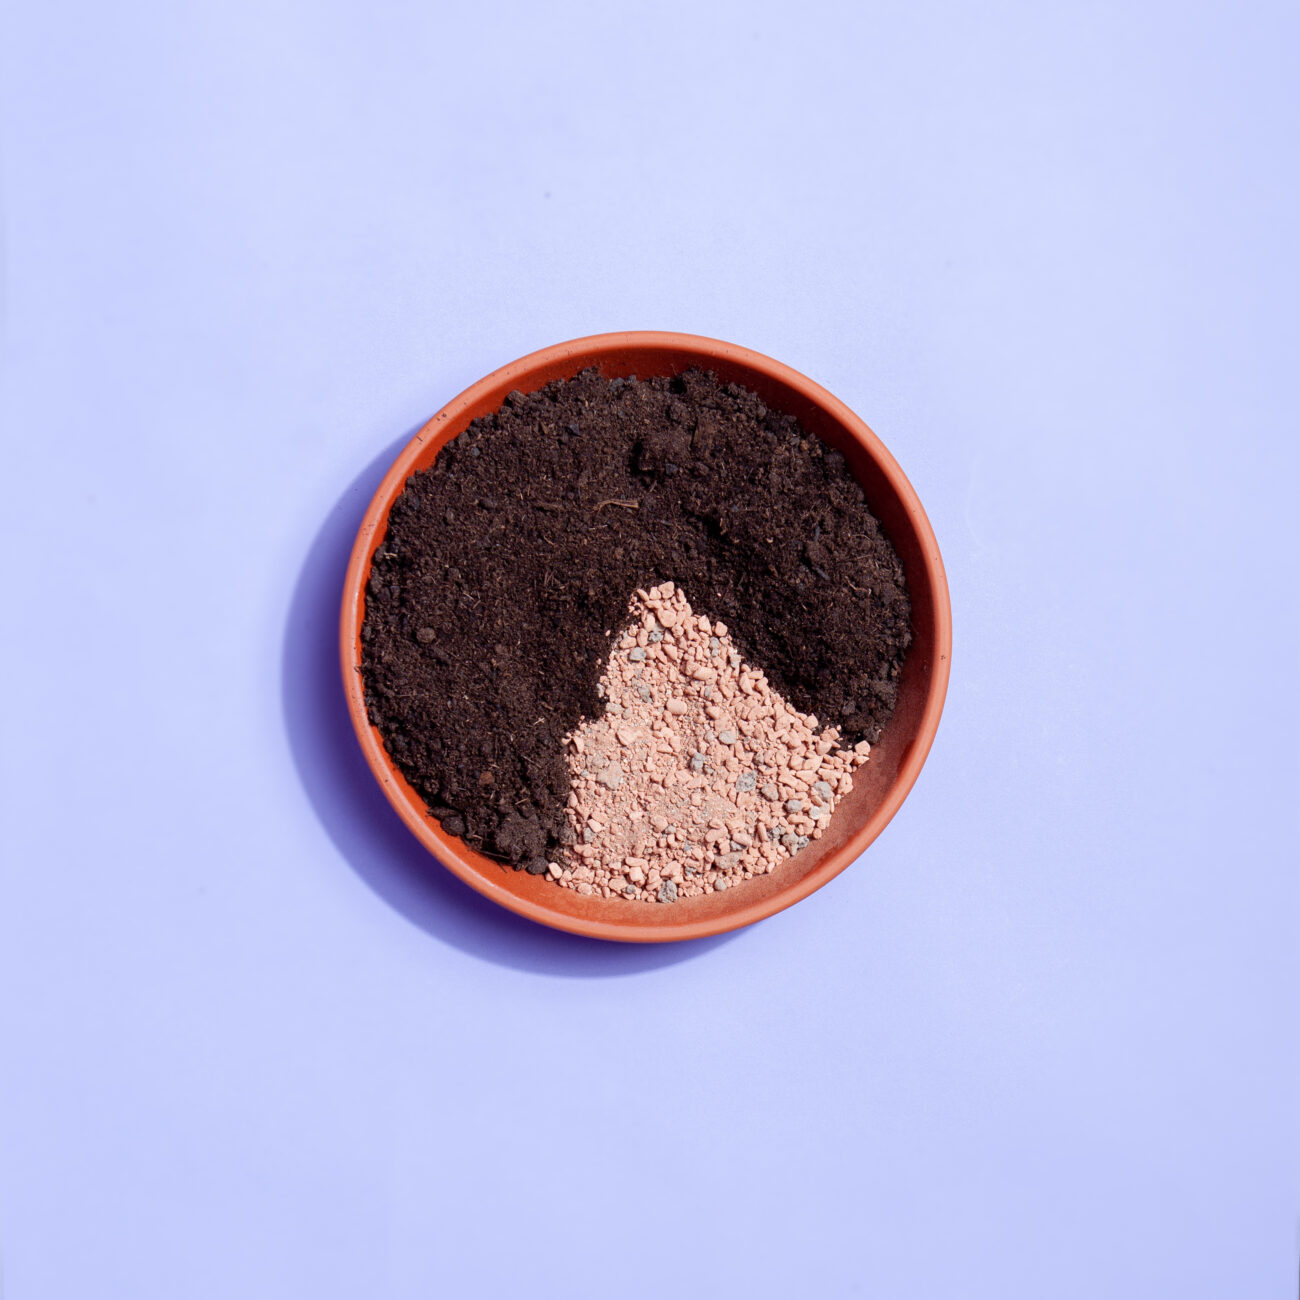
Step 4/8
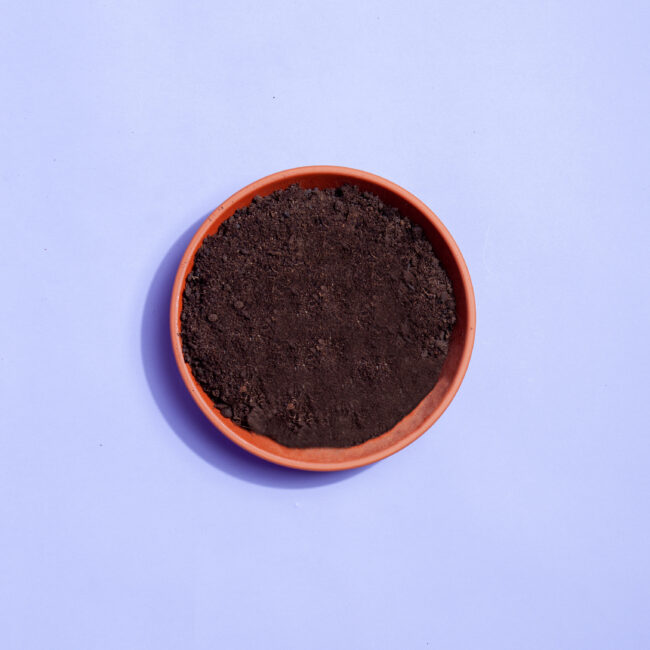
Add about 70 percent commercial green plant soil and about 30 percent fine clay granulate to a container.
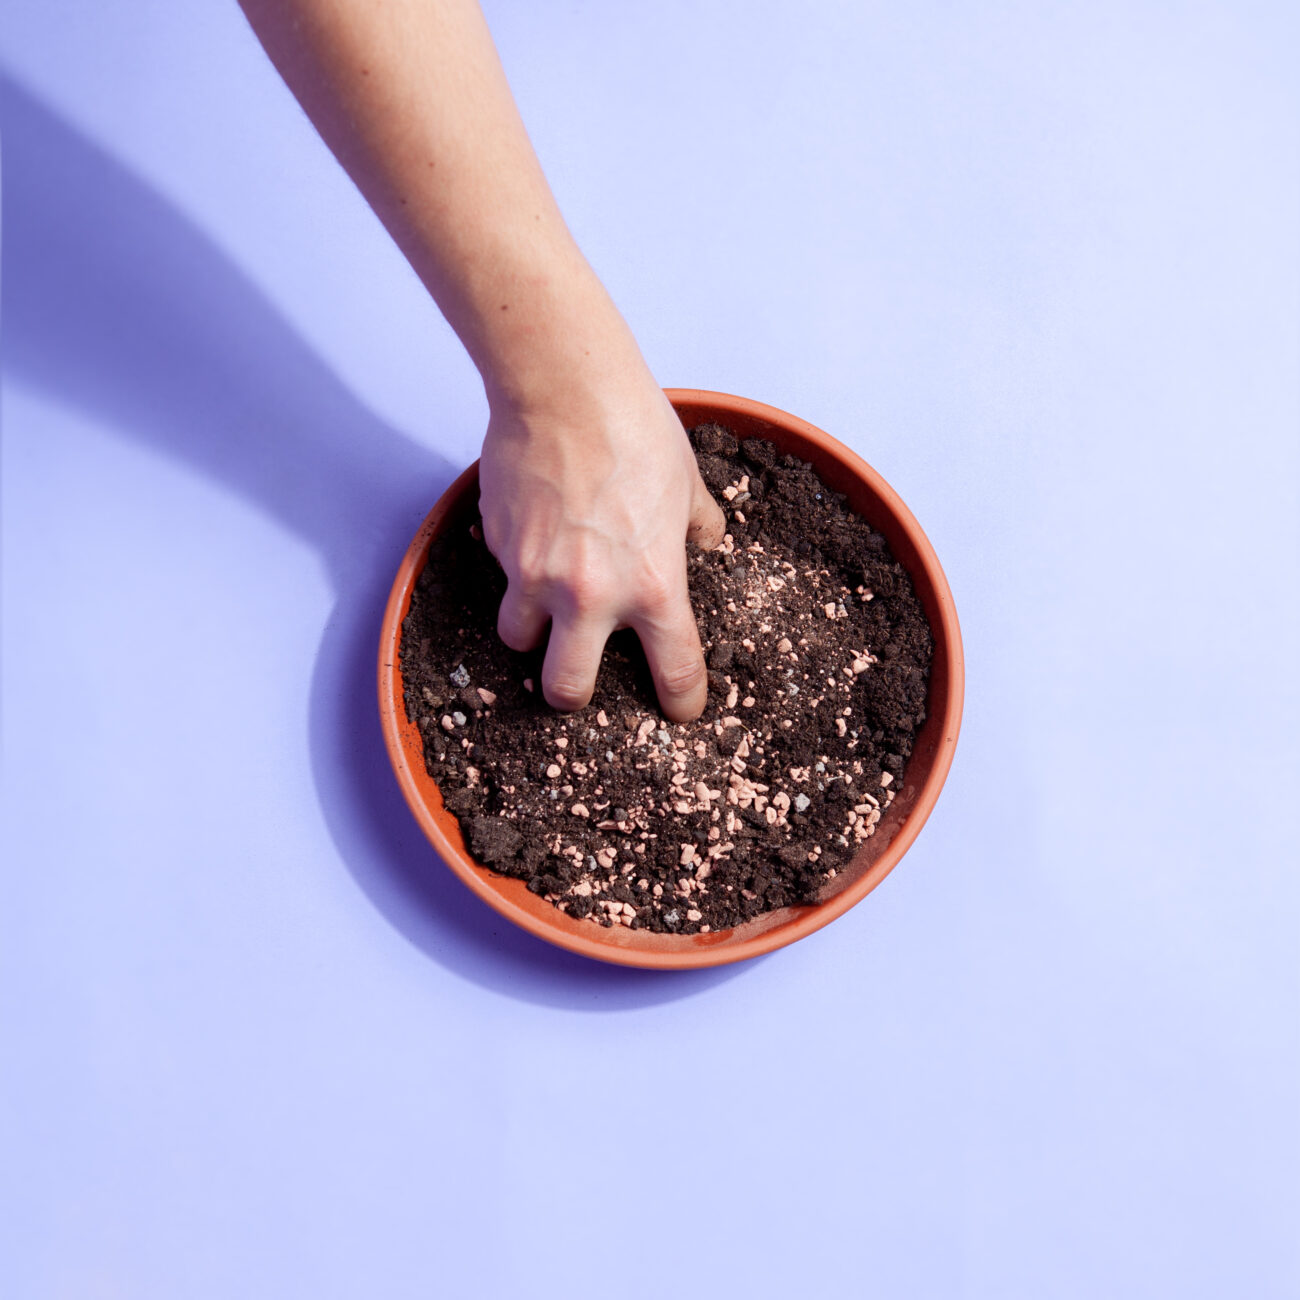
Step 5/8
Now mix well until the granulate is evenly distributed in the soil.
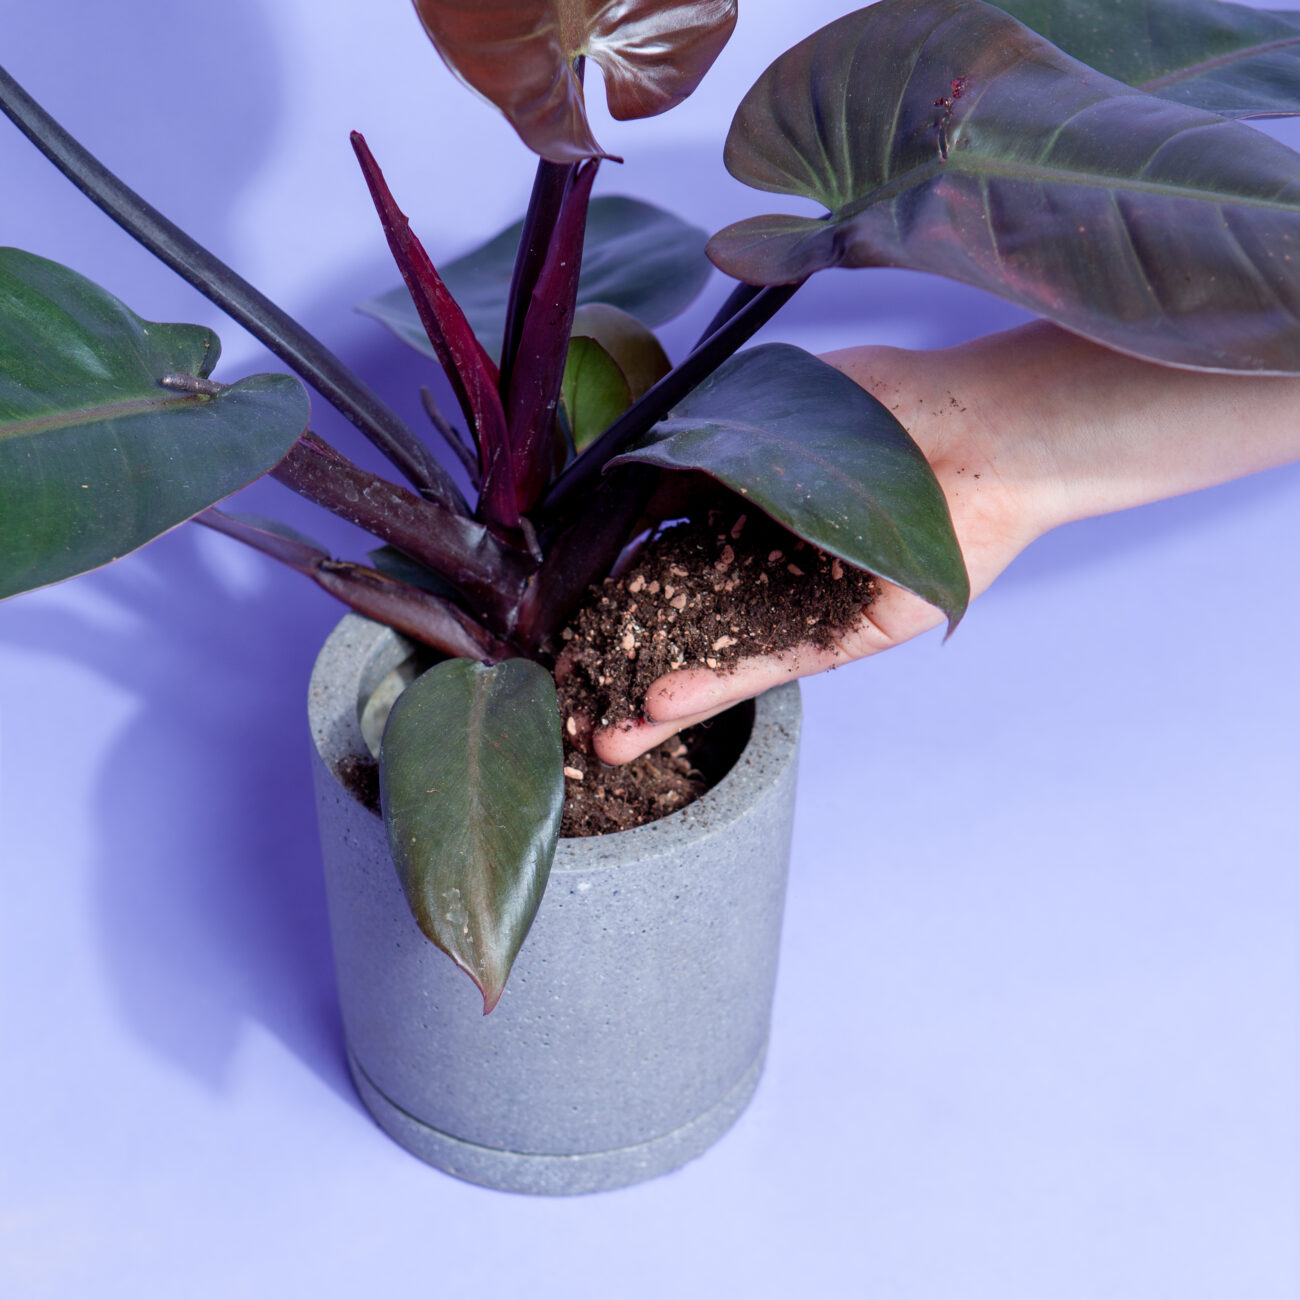
Step 6/8
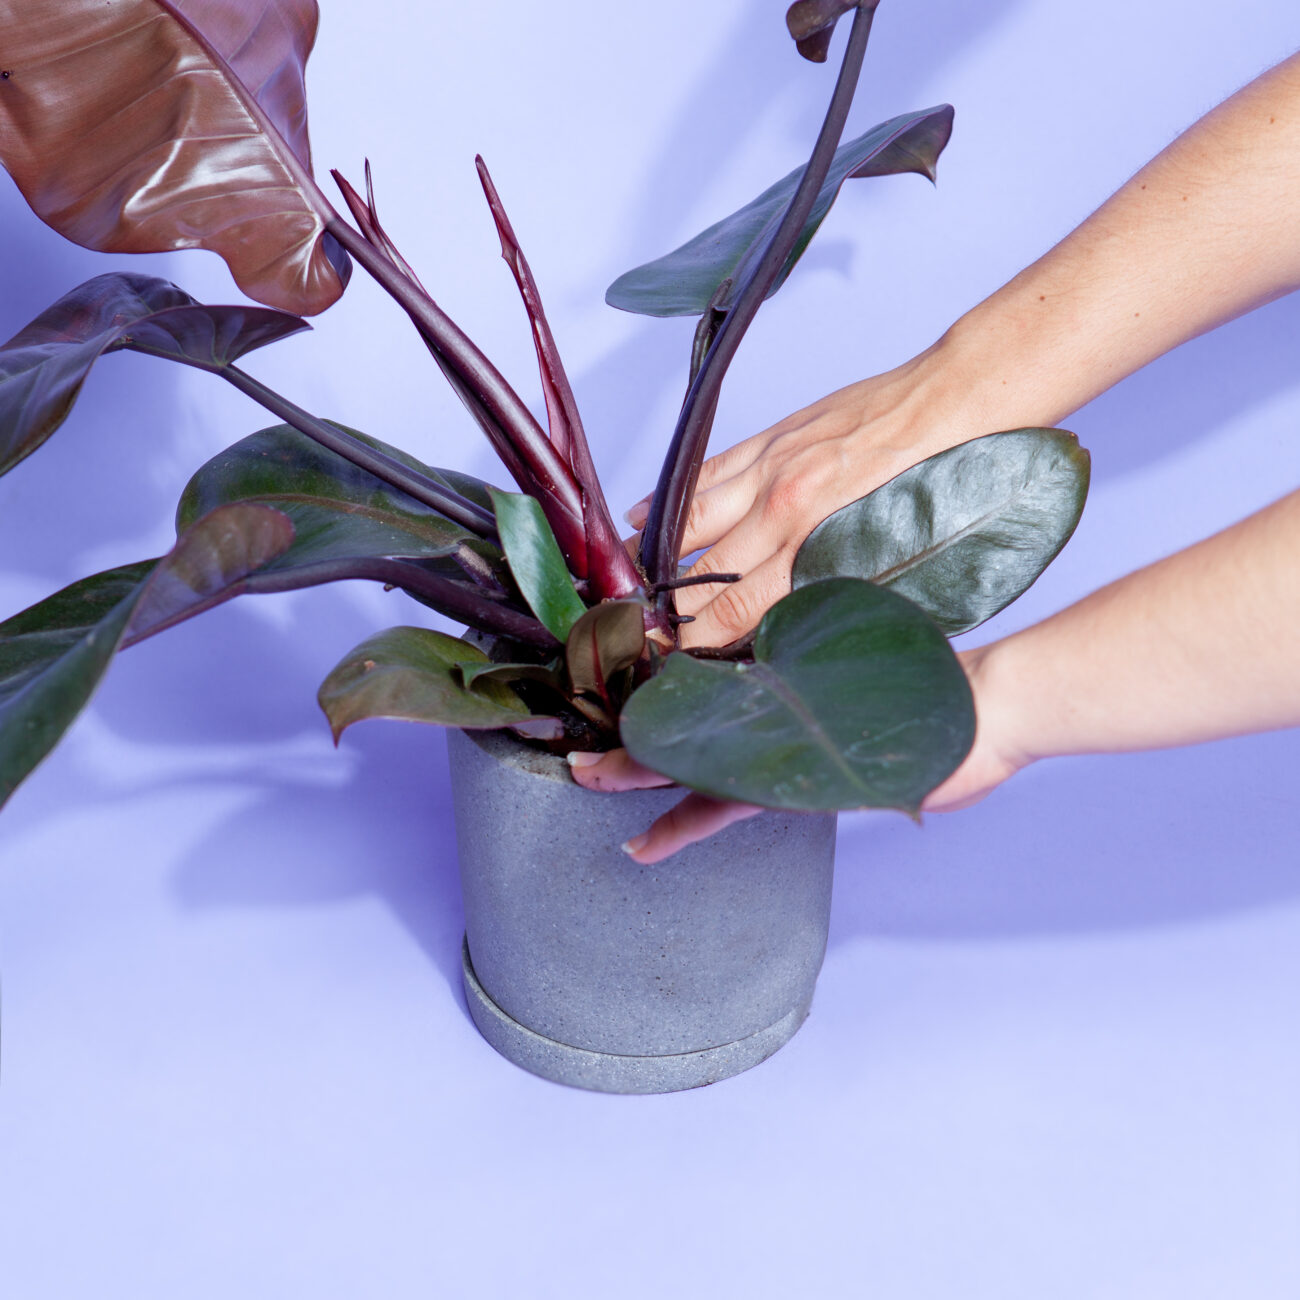
Hold the plant in the center of the pot and fill in the substrate around the roots.
Step 7/8
Press the substrate down well so that your plant has a firm footing.
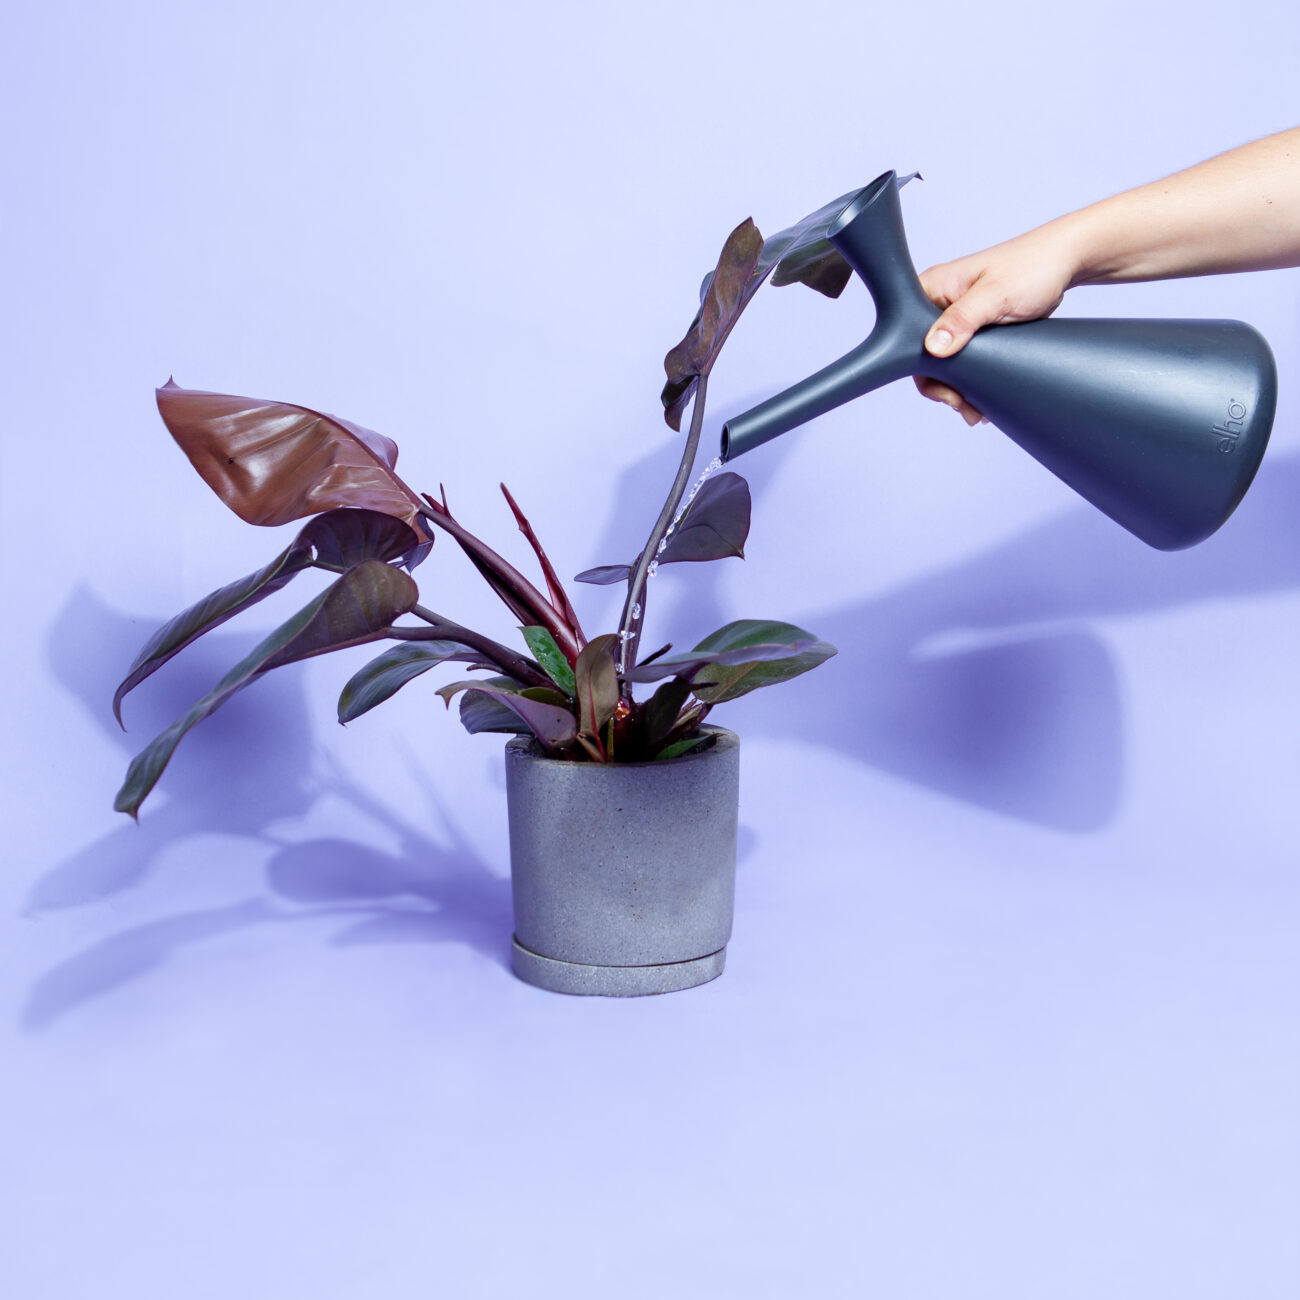
Step 8/8
Water generously. Remove excess water after 30 minutes. Done!