


Yo! Spring is almost here and that means longer days, warmer temps, and your plants coming back to life! We’ve got some awesome tips from our experts to help you ease your indoor plants into the spring season.
What’s so special about spring?
During the winter, many plants go dormant to save energy when they can’t function efficiently. Temperature, soil moisture, and day length are some factors that can trigger dormancy. Even in a controlled environment like our homes, shorter days in the autumn usually make them go dormant.
But wait! Not all houseplants go dormant in the winter. With indoor heating, regular watering, and the use of grow lights or even normal household lights, your plant can still be actively growing. But with the changing seasons, your plant will likely have a growth spurt, so these spring care tips still apply!
As we get closer to spring and the days start getting longer, your houseplants will wake up from their winter nap. Keep reading for some helpful spring care tips that you can start doing anytime from late winter to early spring to help your plants adjust.
Spring Cleaning For Your Plants
Who doesn’t love a fresh start in spring? Your plants certainly do! Take a few hours to tackle the dust, debris, and other gunk that’s collected on and around your plants over the winter. Your home will feel refreshed and your plants will be ready for more light and new growth!
To-Do list:
- Clear your plants out of their spots and give the floor and surface they were sitting on a good wipe down. Don’t forget to clean the outside of the pot and saucer too!
- Get rid of any dead leaves and other debris that’s hanging out on the soil surface.
- Trim away any brown or yellow leaf tips and edges. These pesky problems often plague houseplants over the dry winter months. This is also a great time to shape or prune your plants!
- Give each leaf a good wipe down with a wet cloth. Leaves can gather a layer of dust that limits their ability to function effectively. Cleaning not only makes them look beautiful, but also helps them grow faster.
- Some of your leafy friends greatly appreciate a seasonal shower. Simply place them in the shower or bathtub and spray them down with lukewarm water. Make sure you don’t use full pressure, as it can damage the leaves and stems. Ensure that your pots have drainage holes. After washing all the leaves (including the bottoms), allow them enough time to dry off. Otherwise, you’ll have dirty water drops around the house.
- Check the remaining leaves for any signs of pest and disease. Bumps, splotches, or sunken yellow or brown areas are potential signs of problems. Prevent diseases and pests by spraying your plants with a Neemoil-water mix. Protect your plant from fungus gnats with a yellow board!


Let there be light
Alright, let’s talk about lighting! As we head into summer up here in the northern hemisphere, the days get longer and the sun moves higher in the sky. What does this mean for your indoor plants? Well, for starters, they’re going to get more light throughout the day. Plus, the direct sunlight coming through your windows is going to change its pattern. So, make sure you check on your plants at different times of the day and adjust their placement accordingly to give them the perfect amount of light. You can also use the FYTA Beam to help you find the best spot for your plant.
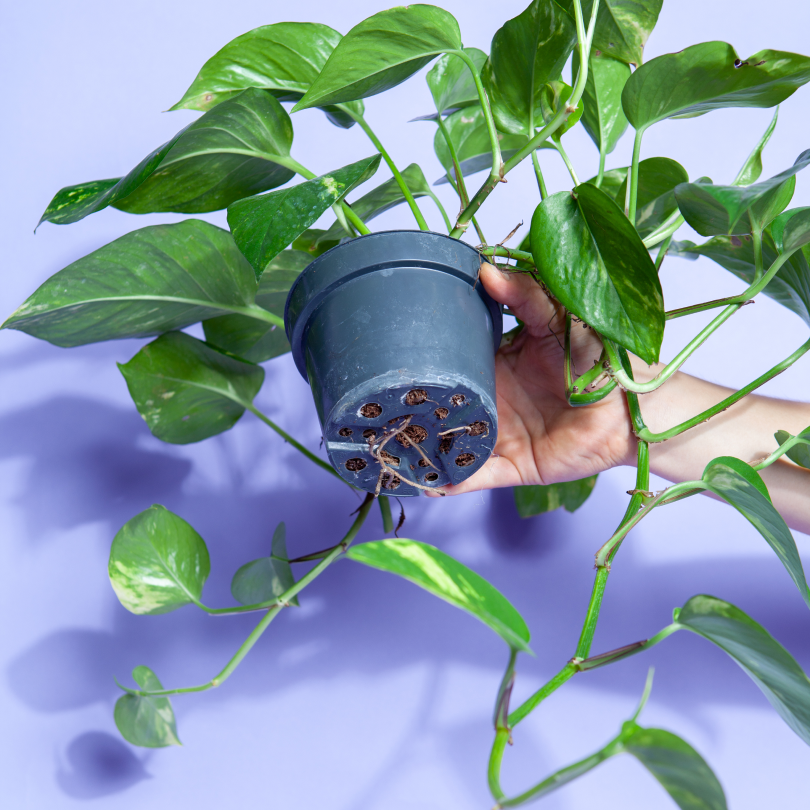
Check the roots
Plant roots may not be at the top of your mind, but they play a huge role in your plant’s health. Even if your plant looks like it’s doing great, it’s always a good idea to give the roots a once-over at least once a year.
To check the roots, gently slide your plant out of its pot. If you see roots winding all the way around the outside of the rootball or see more roots than soil, it’s time to give your plant a new home!
Here are a few signs that it’s time to repot: roots are creeping along the top of the soil, roots are growing out of the drainage hole, or water rushes through the pot when watering. Most plants won’t need to be repotted more than once a year, and some, especially older, bigger plants, can go three or more years before they need a new pot.
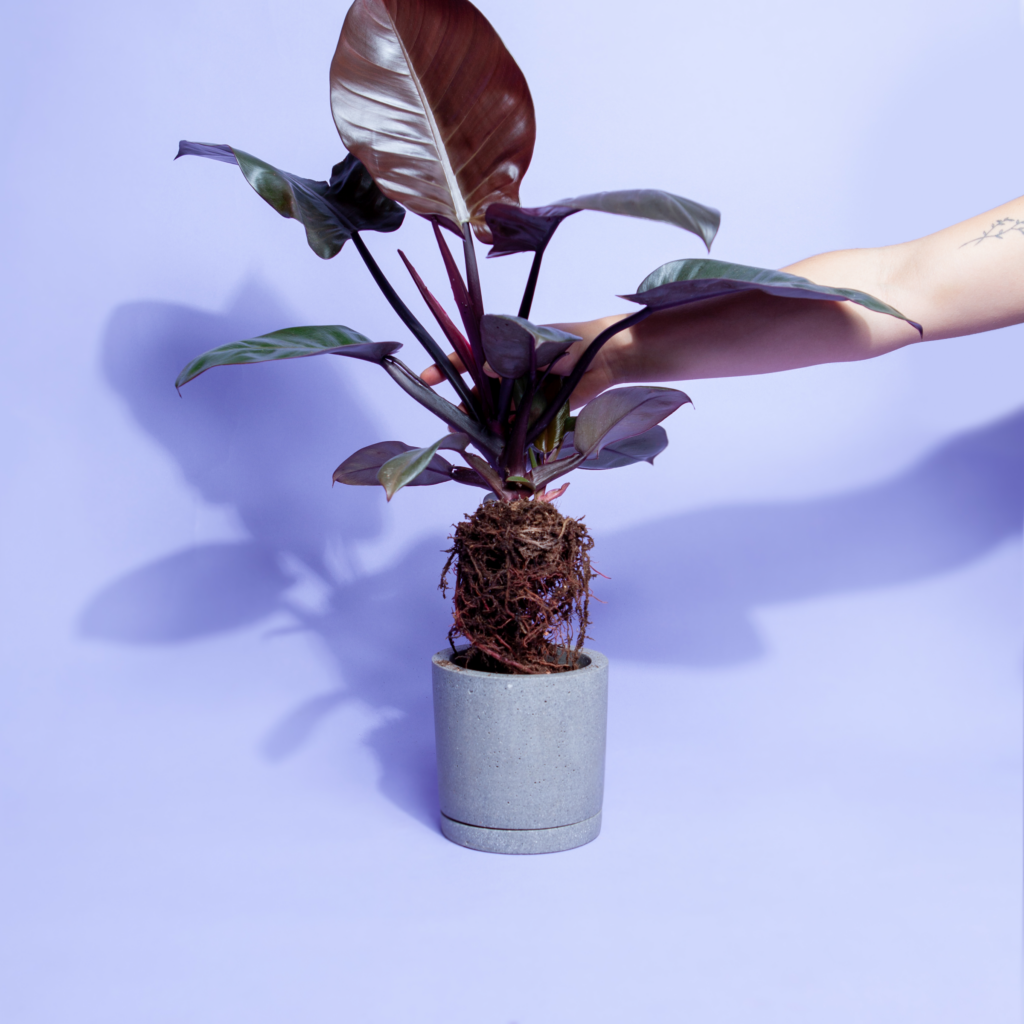
Ready to repot?
What you need:
- Fresh potting soil formulated for houseplants
- A new pot that’s an inch or two wider than the current pot and that has a drainage hole
- A soil scoop to help you move soil and repot your plant with ease
Quick note: Try not to mess with the roots too much! Roots are pretty complex and it can stress out your plant if they get damaged. If your plant is healthy, you can just move it to a new pot and fill it up with some new potting mix. There are a couple of exceptions to this rule though. If you come across any rotten roots, just cut them out with some clean snips. Or if the roots are all tangled up with no soil, gently unwind the outer ones before repotting. If you want a detailed guide on how to repot your plants, check out this article.
Adjust your watering routine
With brighter light and warmer temperatures, your plant is getting all the signals that tell it spring is just around the corner. If you want to kickstart its growth, pay close attention to the soil moisture. You’ll notice your plant using water more quickly as its roots, stems, and leaves experience a flush of growth. This means you’ll need to water it more frequently.
But remember, with leafy plants, always water deeply and thoroughly, letting the water soak into the soil until it begins to drain out the bottom of the pot. Don’t forget to remove any excess water that collects in the saucer since it can cause root rot. It’s important that your pot has a drainage hole so that you can water thoroughly without worrying about overwatering.
Grow, baby, grow!
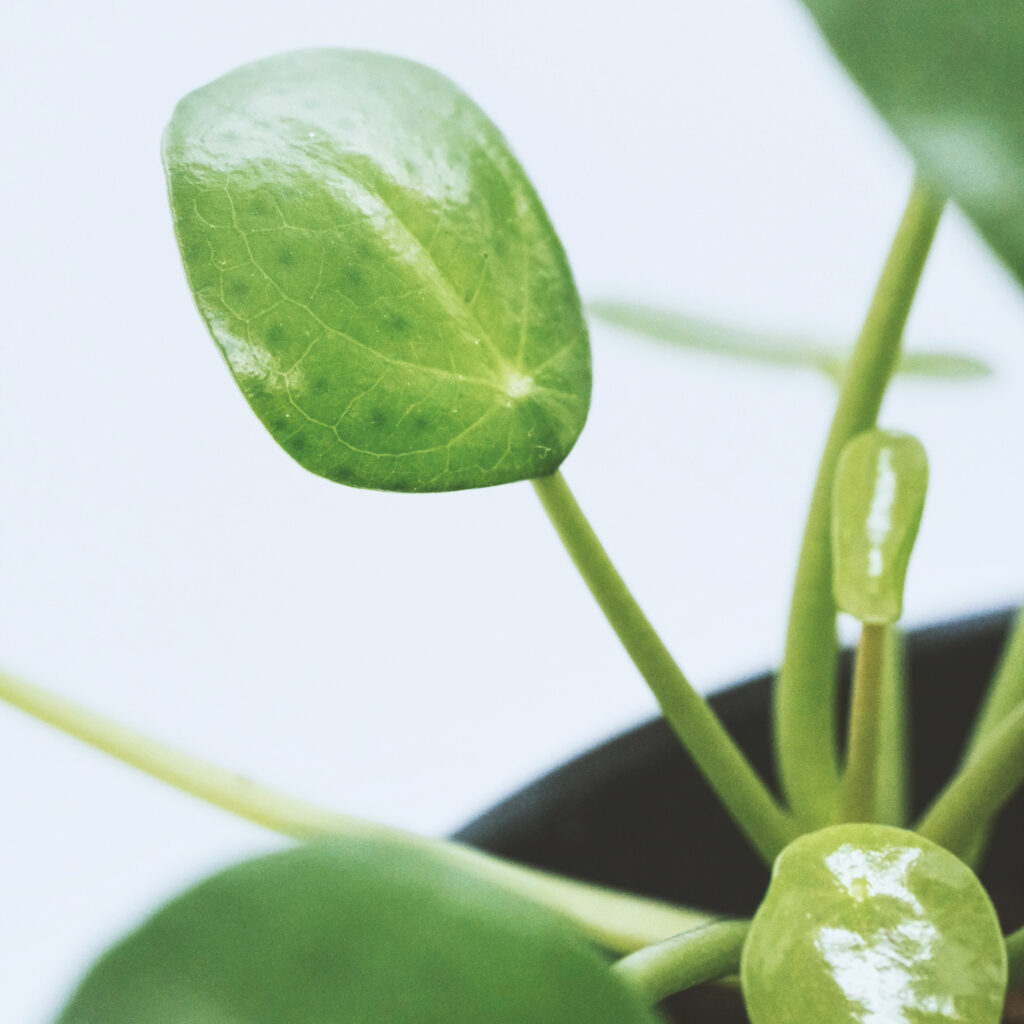
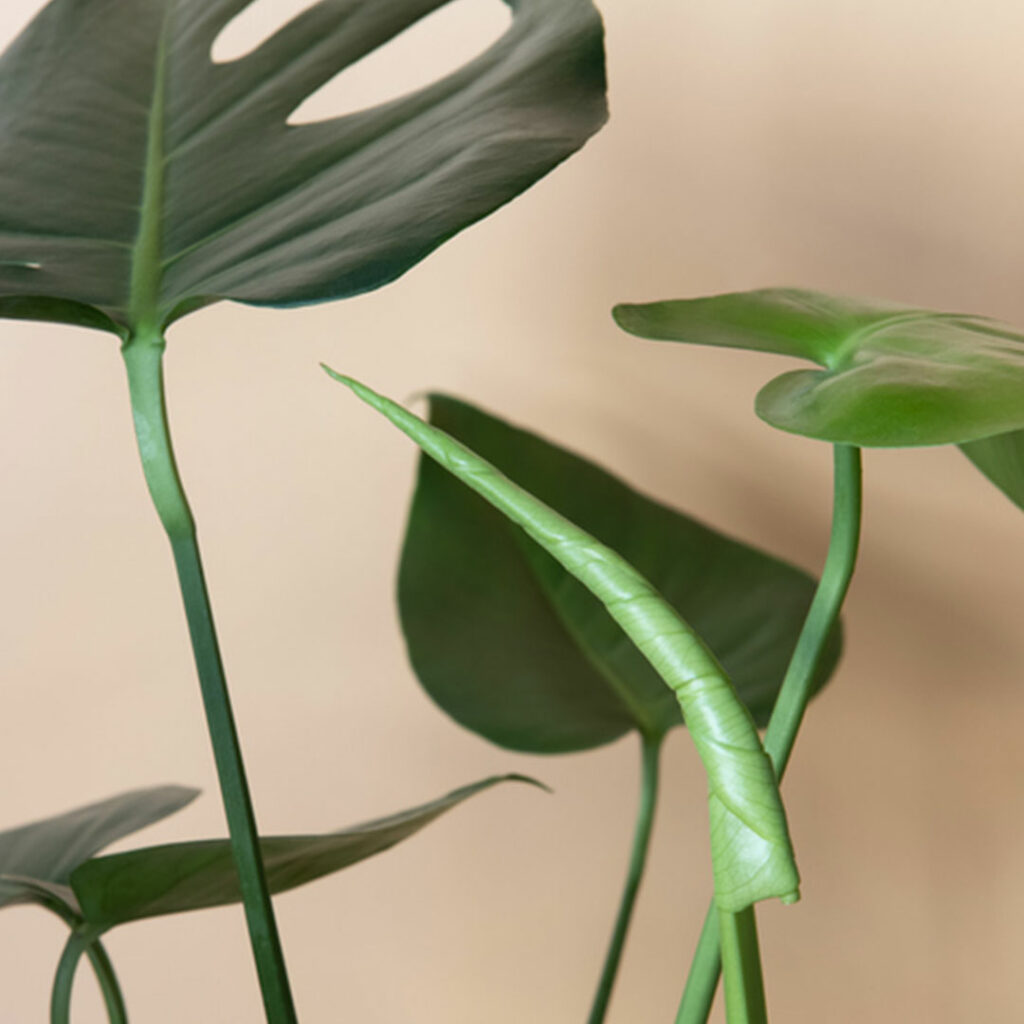
If you see fresh, new growth in your houseplant, that means it’s feeling the spring vibes! It’s a sign that your plant is happy and healthy.
When you see new growth, it’s time to give your plant some fertilizer. We recommend using a water-soluble fertilizer that’s balanced for your type of houseplants. Just follow the instructions on the label, but if you’re unsure about applying too much, it’s totally cool to mix it with extra water to dilute it to half-strength. That way your plant will get what it needs in smaller doses. In fact, most plants prefer more frequently concentrated fertilization.
You may also like

Plant Blindness: an underappreciated phenomenon
Tellus integer feugiat scelerisque varius. Sit amet volutpat consequat mauris nunc congue nisi. At u

WENN PFLANZEN UNTER DIE HAUT GEHEN
Tellus integer feugiat scelerisque varius. Sit amet volutpat consequat mauris nunc congue nisi. At u

Deep Dive: Water
Tellus integer feugiat scelerisque varius. Sit amet volutpat consequat mauris nunc congue nisi. At u
Post a comment